
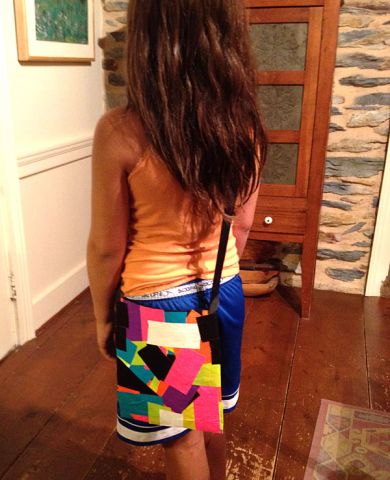
 Looking for a super fun craft that is easy for the kids and turns in a fun and functional project? Well, here’s a great way to use up some of your fun, colorful duct tape. We’ve made some other projects from this tape but this is one of our favorites. We know the girls will all be asking about the purses when the girls take theirs to school.
It is so easy and all you need are a few items plus scissors.
What You Need:
- Colored Duct Tape
- 2 felt squares
- Ribbon or Cording
- Scissors
How to:
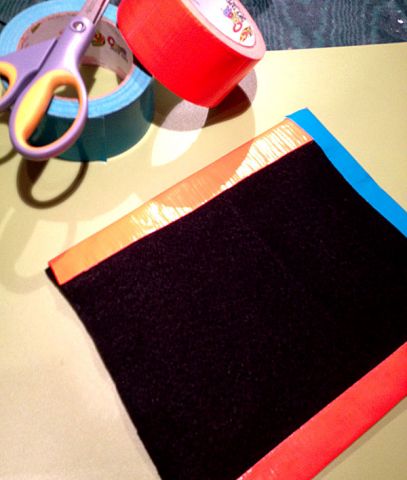
1. Cut two pieces of felt to the desired shape of your purse. You can make a long purse, wide purse or even a tiny purse. Although you can make a flap for a closure, we opted for an open purse, sort of like a tote bag.
2. Tape sides and bottom of purse closed, using half the strip of tape to cover both sides of felt.
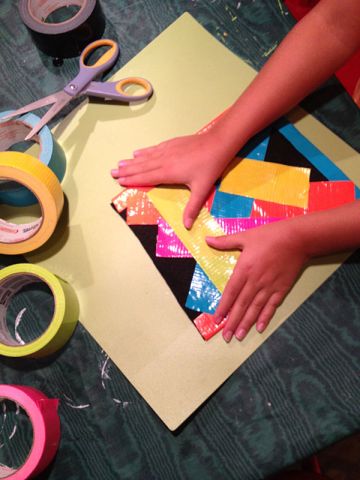
3. Start cutting, and adding, pieces of tape, making sure to overlap for sturdiness. Be sure to leave your top open! You can do a patchwork look as we did, or choose to only use two colors or even make stripes. If you want to add specific shapes, you might want to do an entirely single color background first, then add shapes, like stars.
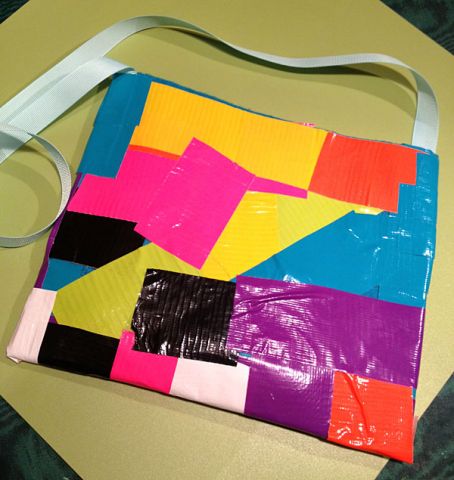
4. After you are satisfied with your purse, cut a piece of thick ribbon or cording to use as a shoulder strap. First hold your purse at the height you would like to wear it, and then cut your strap accordingly. You will want to add about 3 inches to each side, as these will get taped to the purse.
5. Tape strap in place and you are all set. We taped ours to the outside of the purse.
by Sharon Pierce McCullough