Fall Dragonfly Art Project
 by
by Fall Nature Craft for Home or School
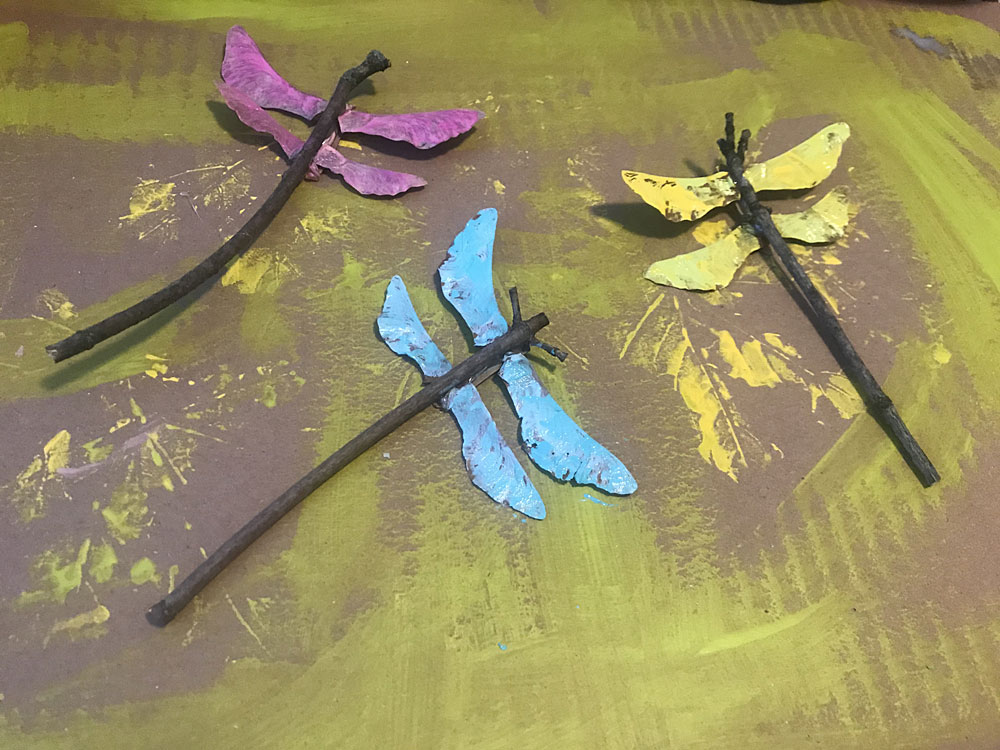
This is a perfect art or craft project for kids to do at home or at school. And we love that you can incorporate an outdoor nature walk. This is another simple project for kids that makes use of Fall seed pods and twigs. The finished dragonflies can be used to display on a shelf, on the wall or make a mobile that the dragonflies hang from twigs.
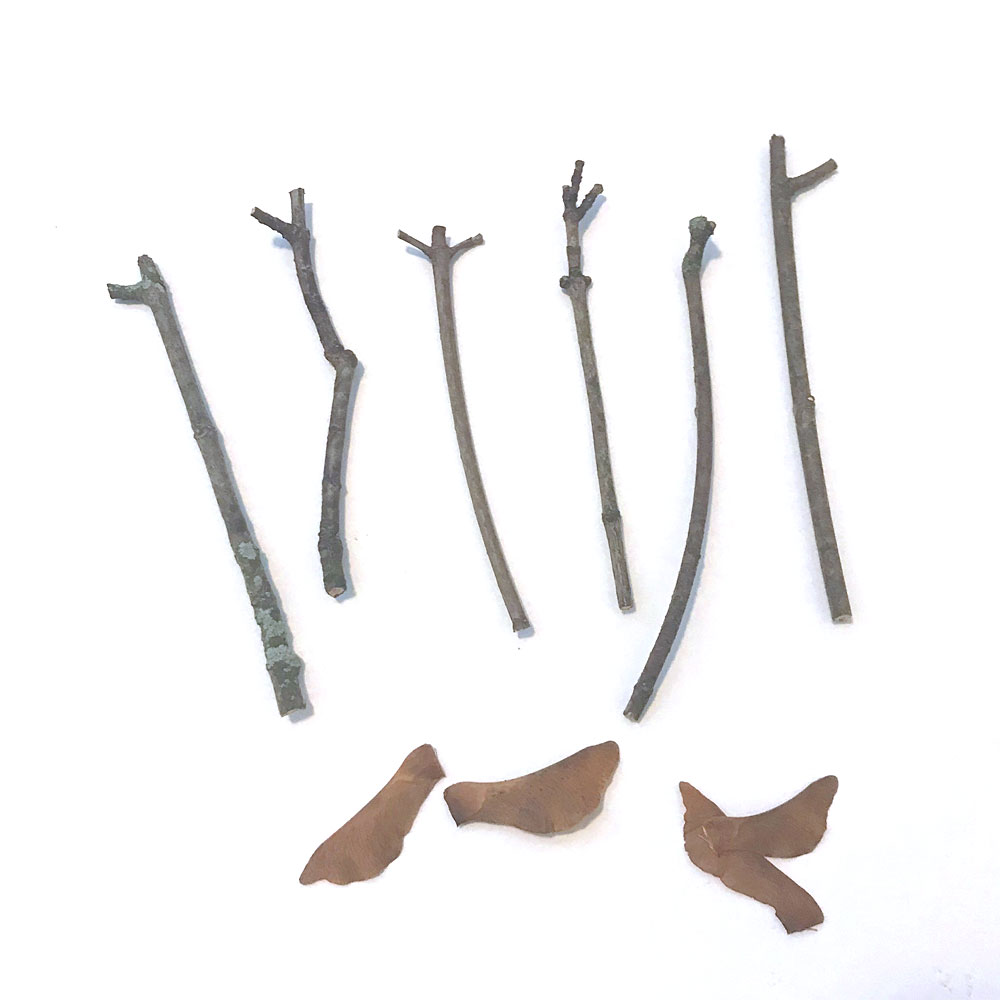
The first step is to collect maple seed pods that are plentiful in many areas. Certainly in the eastern part of the country, maple trees grow everywhere. You will also want to look for thin twigs, especially those that have a little knob or sections protruding that look like antennae. Twig size won’t matter but you do want to trim down to pieces about 5 inches long.
Materials
- Maple seed pods
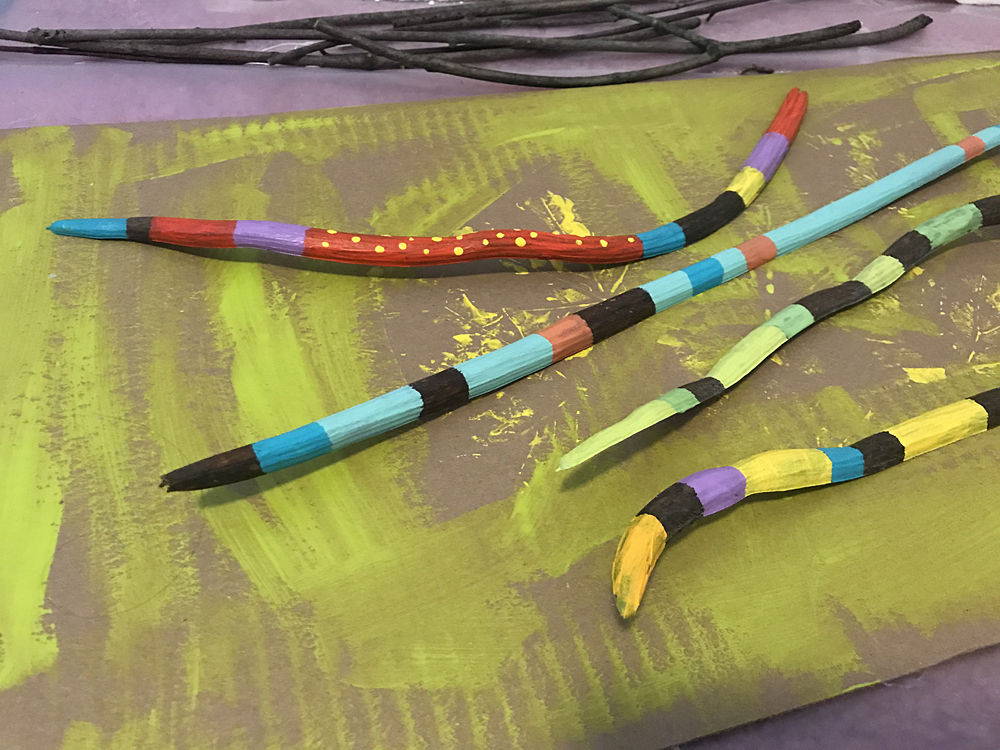
- Thin twigs
- Clippers
- Glue or Glue gun
- Paint
- Brushes
Directions
- Collect materials, then select which pieces you will use for your dragonflies. Trim twigs to about 5 inches long.
- You may use either a craft glue gun or tacky white glue, but the glue gun is easiest. When working with a group of kids, however, the tacky glue is safer.
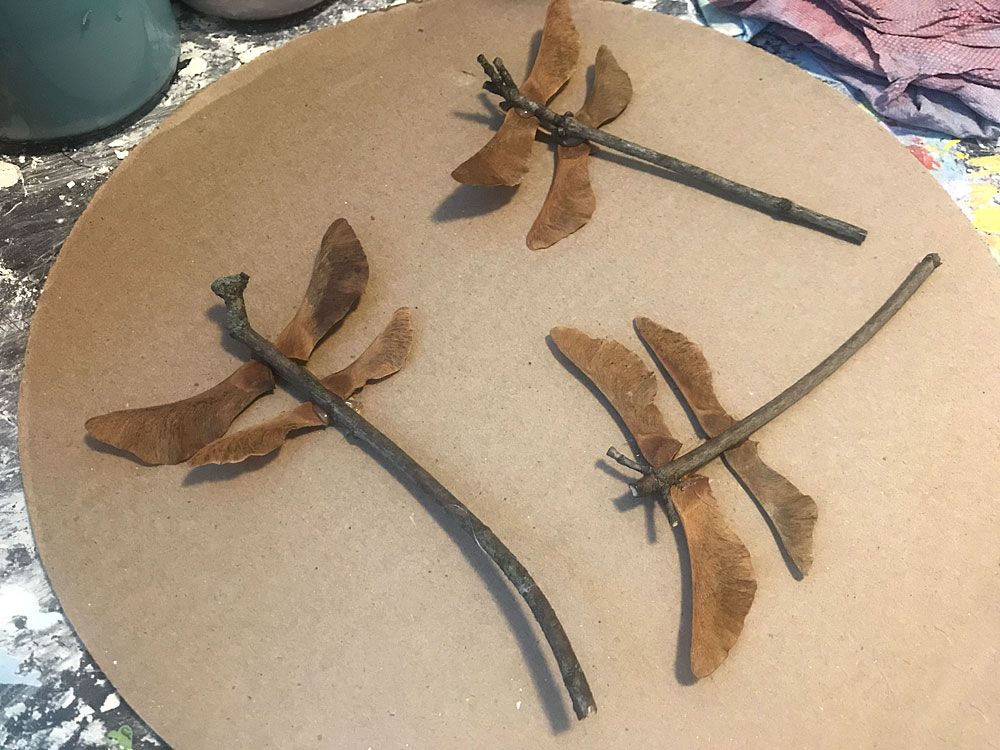
- For ease of getting a good attachment with the glue, cut thin strips (about width of twigs) about 1/2″ long for each dragonfly. Set strip on working area, apply a bead of glue, then set seed pods in place. Add another bead of glue on top of this same section and set twig in place, pressing down a bit. If using tacky glue, the dragonflies should not be moved until the glue is set.
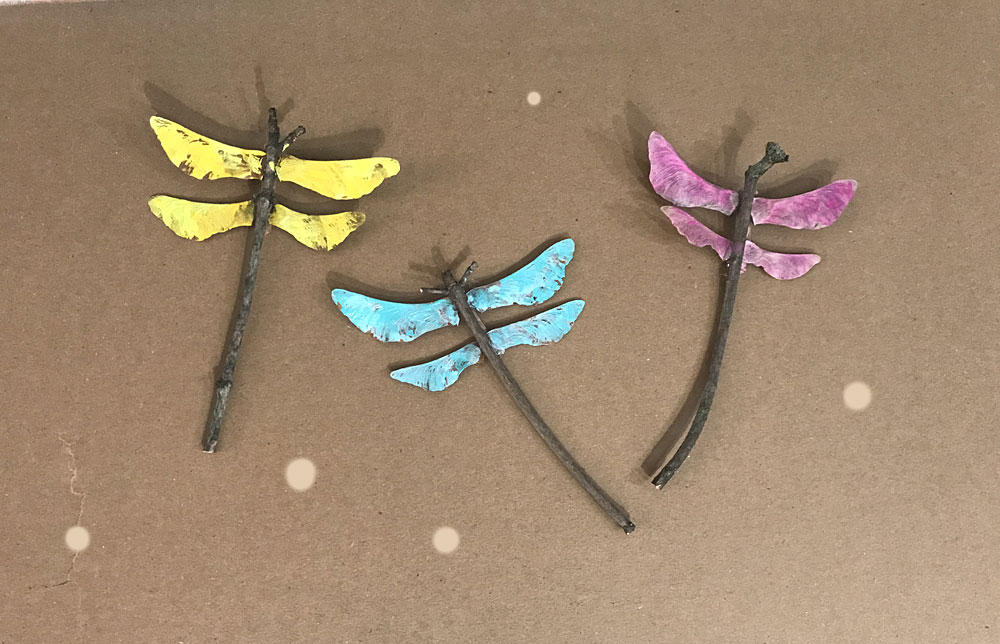
- Paint the wings of the dragonflies any desired color. Entire dragonfly can be painted if you like.