
Duct Tape Crafts for Kids
Did we mention before that we love duct tape? Now that it comes in a such a plethora of colors and patterns there is no end to the uses. Crafts are just a natural with duct tape and making bracelets is one of our most favorite projects. You can make a bunch of these in no time at all, to wear as a fun and colorful bunch of bangles, so to speak. The bracelets are also great little gifts that kids can make, not just girls either, to give to friends and family. Reminiscent of friendship bracelets of the past, these are the current bracelets to give to best friends now.
Duct Tape Bracelet Craft
What You Need:
- Colored Duct Tape
- Scissors
What to Do:
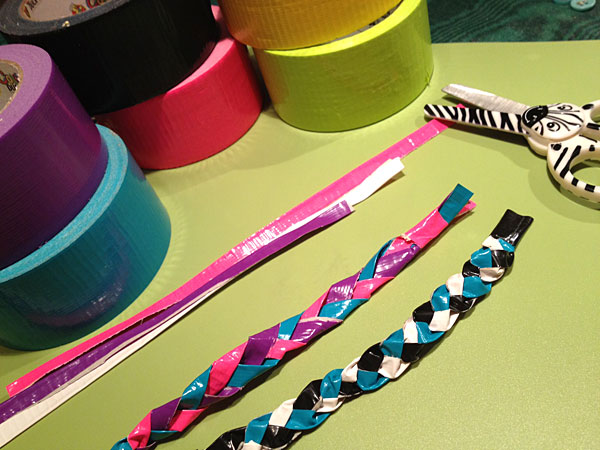
- Cut a length of duct tape to about 9″ long. Depending on the size of the person’s wrist, you might be able to adjust this for your second bracelet.
- Now cut the strip into 3 skinny strips. (clean the scissors occasionaly with WD40 or vinegar to remove the stickiness from duct tape)
- You will need 3 skinny strips per bracelet, so you may want to do three colors at once for several bracelets.
- Carefully fold each strip, lengthwise, so no sticky parts show. If you have a bit showing after folding, just cut away the edge.
- Tape the ends of the 3 strips you are using for each bracelet together with a thin strip of duct tape, as shown.
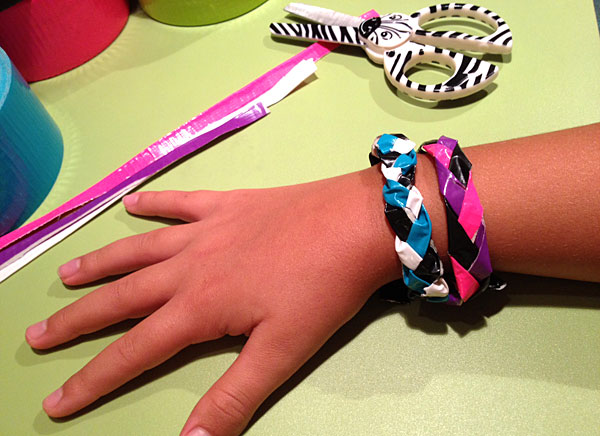
- Now braid the strips together.
- Before taping the bracelet end, check to see if you have the proper fit, as you may want to cut off an inch for a good fit.
- Ends can be taped together so bracelet fits over wrist for slipping on and off, or you can make bracelets just fit and leave on.
** Another option we used was to add a loop of skinny, round elastic to one end of the bracelet and then thread a short loop of elastic through a button, which we then taped to the other end. This way the bracelet fits well and can be removed easily.