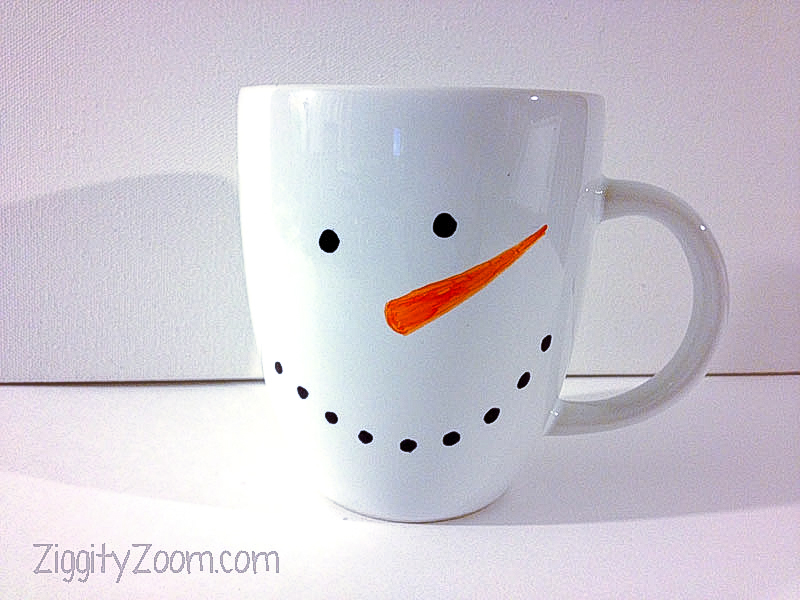
 Having lived in the Northeast for half of my life, it seems like Snowman weather once it hits October. Maybe that’s why I have an affintity for Snowmen. I love all things that even resemble a snowman … how about you? Snowmen are one of the most popular themes during the holidays and colder fall and winter months. So you can’t go wrong, if you make these little guys for gifts.
This snowman mug is perfect for giving as a gift, but it is also a nice little mug to make for each of your family members. You can add a name at the top or bottom of the Snowman face to personalize each mug. Or put the name or a saying like “Let it snow!” on the back side of the mug. Through a little research, and trial and error, we experimented to find out how to make the snowman mug as durable as possible.
The most important tip is to use a Sharpie paint marker, rather than a regular sharpie marker, if you want a permanent design. The Sharpie paint markers are oil-based so they will be more permanent. Another excellent option is the DecoArt glass paint marker. For the mug, choose a plain white one with a smooth overall surface. We found ours at the Dollar Store.
What You Need:
- White mug
- Sharpie Paint Markers (Black & Orange)
What to Do:
- Wash and dry mug thoroughly.
- Draw you snowman face onto the mugs and let dry. You can paint the nose pointing up or pointing down.
- Bake the mug in a 350 degree oven for 20 minutes.
- Cool completely.
- Note … for a longer lasting, fresh-looking design, we suggest hand washing.
